Super Easy Mini Cheesecakes Vanilla Wafer Crust
Super Easy Mini Cheesecakes with Vanilla Wafer Crust. Let’s be honest, who doesn’t adore a creamy, dreamy cheesecake? That rich, velvety texture, the subtle tang of cream cheese, all nestled atop a buttery, crum extractbly crust – it’s pure dessert perfection. But sometimes, the thought of making a full-sized cheesecake can feel a little daunting. That’s where these delightful Super Easy Mini Cheesecakes with Vanilla Wafer Crust come in. They’re your ticket to cheesecake bliss without the fuss, the water baths, or the long cooling times. We’re talking about individual servings that are almost too cute to eat, but trust me, you’ll devour them! This recipe is designed for maximum flavor and minimal effort, making it your new go-to for a quick indulgence or an impressive, yet effortless, crowd-pleaser. Get ready to fall in love with these bite-sized wonders!
Super Easy Mini Cheesecakes with Vanilla Wafer Crust
There are few desserts as universally loved as cheesecake, but let’s be honest, making a full-sized cheesecake can be a daunting task. It involves water baths, precise baking times, and the dreaded potential for cracks. Well, I’m here to tell you that you can achieve that delightful cheesecake flavor and creamy texture in a super simple, individual-sized format, perfect for parties, potlucks, or just treating yourself without the commitment of a whole pie. These Mini Cheesecakes with Vanilla Wafer Crust are the answer to your dessert prayers! They’re ridiculously easy, require no special equipment, and always impress.
Ingredients:
Crafting the Crust and Filling
The beauty of these mini cheesecakes lies in their simplicity, starting with the crust. Instead of the usual grabeef ham crackers, we’re using vanilla wafer cookies. They offer a subtle, sweet flavor that pairs perfectly with the creamy cheesecake filling and provides a delightful crunch.
The cheesecake filling itself is a classic recipe, made foolproof by its small-batch nature. Using room temperature ingredients is key here. Softened cream cheese blends much more smoothly, preventing any lumps and ensuring a velvety texture. Similarly, room temperature eggs emulsify better into the cream cheese mixture, leading to a more cohesive and stable filling. This is a small detail that makes a big difference in the final outcome.
Putting it All Together: Step-by-Step Instructions
1. Prepare the Vanilla Wafer Crust: Begin extract by preheating your oven to 350°F (175°C). Take your 15 vanilla wafer cookies and place them into a food processor. Pulse them until you have fine crum extractbs. If you don’t have a food processor, you can place the cookies in a resealable plastic bag and crush them with a rolling pin or the bottom of a heavy glass. Once you have your crum extractbs, transfer them to a medium bowl. Add about 2 tablespoons of melted butter (optional, but it helps bind the crum extractbs). Mix well until the crum extractbs are evenly moistened. This mixture will form the base of your mini cheesecakes.
2. Form the Crust in the Muffin Tin: Lightly grease a standard 12-cup muffin tin. This is crucial to prevent the cheesecakes from sticking. Spoon about 1 to 1.5 tablespoons of the vanilla wafer crum extractb mixture into the bottom of each muffin cup. Use the bottom of a small glass or your fingers to firmly press the crum extractbs down to create an even layer. This compact crust will hold its shape during baking and provide that satisfying crunch.
3. Create the Creamy Cheesecake Filling: In a large bowl, place your softened full-fat cream cheese. Using an electric mixer (handheld or stand mixer with a paddle attachment) on medium speed, beat the cream cheese until it is completely smooth and creamy, with no lumps. Gradually add the ¾ cup of granulated sugar, beating until well combined and the mixture is light and fluffy. This process incorporates air, which contributes to the cheesecake’s texture.
4. Incorporate the Eggs and Vanilla: With the mixer on low speed, add the 2 large eggs, one at a time, beating just until each egg is incorporated. Be careful not to overmix at this stage; overmixing can lead to a tougher texture and more cracks. Once the eggs are incorporated, stir in the 1 teaspoon of vanilla bean paste or vanilla extract. Vanilla bean paste will give you little flecks of vanilla bean throughout your cheesecake, adding an extra touch of elegance and flavor, but good quality vanilla extract works wonderfully too. The filling should be smooth and luscious.
5. Fill the Muffin Cups and Bake: Gently spoon or pour the cheesecake filling over the prepared vanilla wafer crusts in the muffin tin, filling each cup about two-thirds to three-quarters full. You want to leave a little room for them to puff up slightly during baking. Place the muffin tin in the preheated oven and bake for 18-22 minutes, or until the edges of the cheesecakes are set and the centers are still slightly jiggly. This gentle jiggle is a sign of a perfectly creamy cheesecake.
6. Cool and Chill for Perfection: Once baked, remove the muffin tin from the oven. Let the cheesecakes cool in the muffin tin for about 10-15 minutes. Then, carefully run a thin knife or offset spatula around the edges of each cheesecake to loosen them from the tin. Transfer the cheesecakes (still in the muffin tin) to a wire rack and let them cool completely to room temperature. After they’ve cooled, cover the muffin tin loosely with plastic wrap and refrigerate for at least 4 hours, or preferably overnight. This chilling period is essential for the cheesecakes to set properly and develop their characteristic dense, creamy texture.
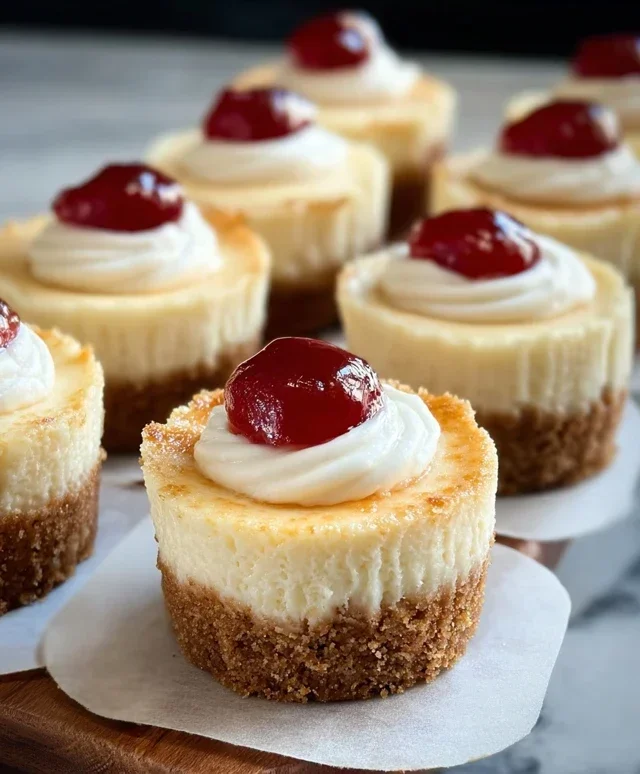
The Finishing Touch: Cherry Topping
Once your mini cheesecakes are thoroughly chilled and set, it’s time for the crowning glory! Carefully remove the cheesecakes from the muffin tin. They should pop out easily if you greased the tin well and ran a knife around the edges. Place each mini cheesecake on a serving plate. Spoon a generous dollop of the canned cherry pie filling over the top of each cheesecake. The sweet and slightly tart cherries provide a beautiful contrast to the rich, creamy cheesecake and the crunchy vanilla wafer crust. You can also add a dollop of whipped cream or a sprig of mint for extra flair if you wish. These delightful treats are ready to be devoured! Enjoy the simple pleasure of homemade cheesecake, made incredibly easy.
Conclusion:
And there you have it – the secret to creating absolutely delightful Super Easy Mini Cheesecakes with Vanilla Wafer Crust! This recipe truly shines because it offers all the creamy, dreamy deliciousness of traditional cheesecake without the fuss, the cracked tops, or the lengthy chilling times. The simple vanilla wafer crust provides the perfect sweet and slightly crum extractbly foundation for the rich, smooth filling. These little gems are incredibly versatile, making them ideal for potlucks, parties, or just a special treat for yourself any day of the week.
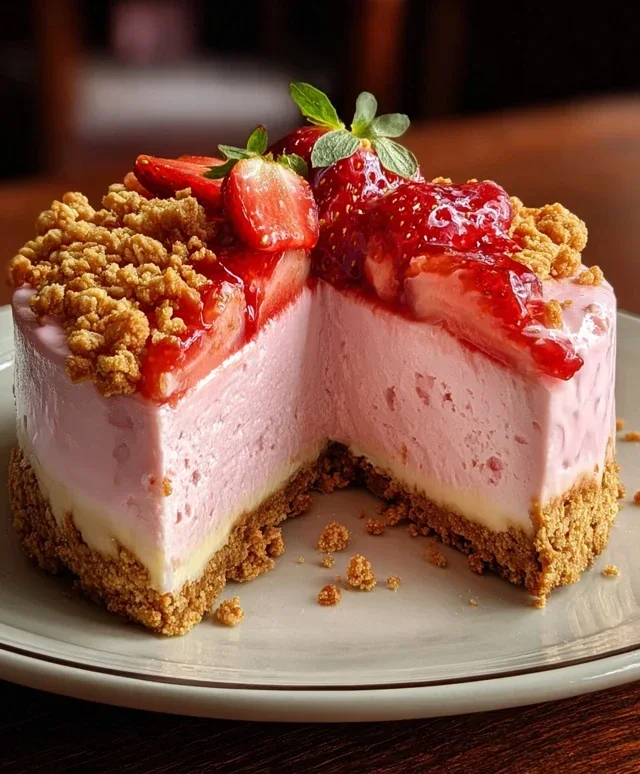
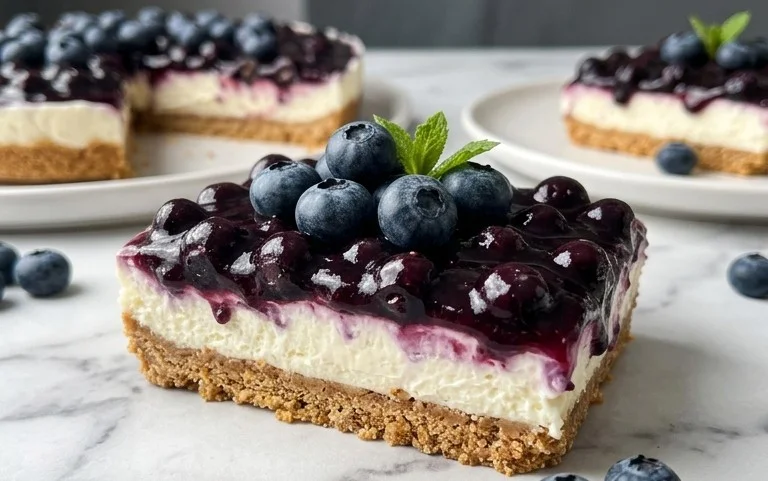
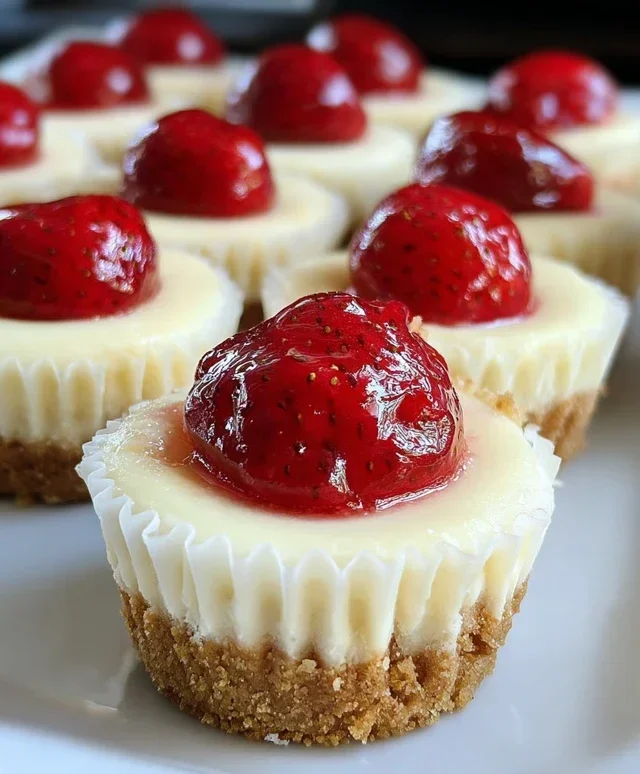
For serving, I love to top mine with fresh berries like strawberries and blueberries, a dollop of whipped cream, or even a drizzle of chocolate ganache. Don’t be afraid to get creative with your own favorite toppings! For variations, you could easily add a swirl of fruit puree to the batter before baking, or even mix in some finely chopped chocolate chips. The possibilities are endless, and the results are always spectacular.
I truly hope you give this Super Easy Mini Cheesecakes with Vanilla Wafer Crust recipe a try. It’s such a rewarding and delicious experience, and you’ll be amazed at how quickly you can whip up these crowd-pleasing desserts. Happy baking!
Frequently Asked Questions:
Can I make these cheesecakes ahead of time?
Absolutely! These mini cheesecakes are fantastic for making ahead. You can bake them and let them cool completely, then store them in an airtight container in the refrigerator for up to 2-3 days. They are often even better the next day as the flavors meld together.
What if I don’t have vanilla wafers?
No problem! You can easily substitute other crum extractbly cookies for the crust. Grabeef ham crackers are a classic choice and work beautifully. Digestive biscuits or even shortbread cookies, crushed finely, would also create a delicious crust for your mini cheesecakes.
How do I prevent the cheesecakes from cracking?
While cracking is less of an issue with mini cheesecakes due to their smaller size and quicker baking time, you can further minimize the risk by not overmixing the batter once the eggs are added and by ensuring your oven isn’t too hot. Baking them until they are just set around the edges but still have a slight wobble in the center is key.
Super Easy Mini Cheesecakes with Vanilla Wafer Crust
Delightfully simple mini cheesecakes with a crunchy vanilla wafer crust, topped with sweet cherry pie filling. Perfect for a quick dessert.
Ingredients
-
15 vanilla wafer cookies
-
16 ounces full-fat cream cheese, softened
-
¾ cup granulated sugar
-
2 large eggs, at room temperature
-
1 teaspoon vanilla bean paste or vanilla extract
-
1 can cherry pie filling
Instructions
-
Step 1
Preheat oven to 325°F (160°C). Line a 12-cup muffin tin with paper liners. -
Step 2
Crush the vanilla wafers into fine crumbs. Press about 1 tablespoon of crumbs into the bottom of each muffin liner to form the crust. -
Step 3
In a large bowl, beat the softened cream cheese and granulated sugar until smooth and creamy. -
Step 4
Beat in the eggs one at a time, then stir in the vanilla bean paste or extract until just combined. Do not overmix. -
Step 5
Spoon the cream cheese mixture evenly over the vanilla wafer crusts in the muffin liners. -
Step 6
Bake for 20-25 minutes, or until the edges are set and the centers are slightly jiggly. -
Step 7
Let the cheesecakes cool in the muffin tin for 10 minutes, then transfer to a wire rack to cool completely. Chill in the refrigerator for at least 2 hours. -
Step 8
Top each chilled mini cheesecake with cherry pie filling before serving.
Important Information
Nutrition Facts (Per Serving)
It is important to consider this information as approximate and not to use it as definitive health advice.
Allergy Information
Please check ingredients for potential allergens and consult a health professional if in doubt.