4th of July Fruit Platter – Easy American Flag Recipe
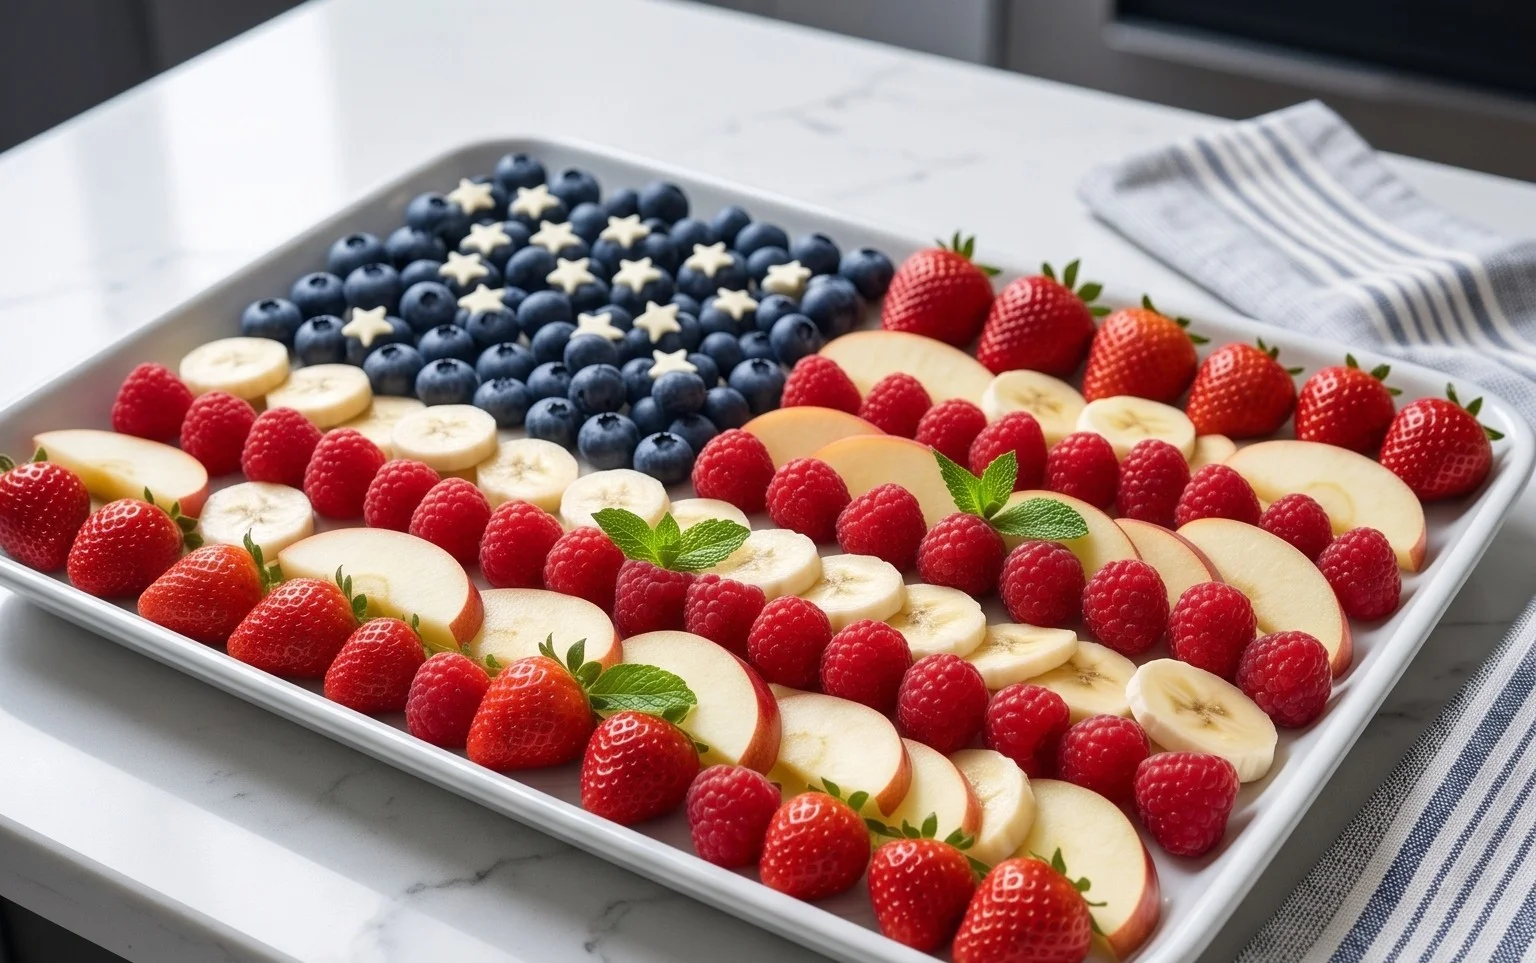
4th of July Fruit Platter Idea | How to Make an American Flag is the showstopper your Independence Day celebration has been missing! As the summer sun shines and fireworks light up the night sky, we all crave those delicious, refreshing treats that perfectly capture the spirit of the holiday. This isn’t just any fruit platter; it’s a vibrant, edible masterpiece that tastes as good as it looks. Everyone loves this patriotic creation because it’s incredibly easy to assemble, packed with healthy and delicious fruits, and instantly elevates any gathering. What makes this American flag fruit platter so special is its stunning visual appeal. It’s a guaranteed crowd-pleaser that will have your guests marveling at your creativity and enjoying a burst of fruity goodness. Let’s get started on crafting this beautiful and tasty centerpiece for your 4th of July feast!
Ingredients:
Let’s get this party started with a show-stopping dessert that’s as delicious as it is patriotic! This American Flag Fruit Platter is a fantastic way to celebrate the 4th of July, birthdays, or any occasion where you want to add a splash of red, white, and blue to your spread. It’s incredibly simple to assemble, making it perfect for last-minute party prep, and the kids can even get involved in the decorating! We’re going to transform a simple collection of fresh fruits and sweet treats into a vibrant edible masterpiece.
The beauty of this recipe lies in its versatility. You can easily swap out ingredients based on what’s freshest and most readily available. For the red stripes, juicy strawberries are a classic choice, offering a delightful tartness that balances the sweetness of the other elements. If you’re aiming for a more watermelon-centric flavor profile or want larger, bolder red sections, watermelon cut into uniform pieces is an excellent alternative. Just ensure you have enough to create those iconic horizontal lines.
For the blue field of stars, plump, fresh blueberries are the undisputed cbeef hampions. Their deep indigo hue provides a stunning contrast to the red and white, and their burst of flavor is always a welcome addition. Make sure they are thoroughly washed and dried before you start arrangin extractg them.
And for that touch of white and a delightful crunch that mimics the stars and stripes, we’re turning to white chocolate covered pretzels. These offer a satisfying sweet and salty combination and a lovely crisp texture. If white chocolate isn’t your favorite, yogurt-covered pretzels are another fantastic option, offering a slightly different flavor profile while still maintaining that essential white color. The key is to have enough to create a scattered pattern or even a more defined “star” effect if you’re feeling particularly artistic.
Beyond the main fruit and pretzel components, you’ll need a good-sized rectangular platter or even a clean baking sheet to act as your canvas. The size of your platter will determine how generously you can lay out your “stripes” and “stars.” And if you’re feeling extra fancy, a small bowl for some dips can elevate this even further. Think creamy cream cheese, light and fluffy whipped cream, or even a simple Greek yogurt for a healthier option. These dips add another layer of flavor and a fun interactive element to the platter.
Preparing Your Canvas and Components
Before we begin extract the artistic part, it’s essential to have all our components prepped and ready to go. This will make the assembly process smooth and enjoyable. First, ensure your platter or baking sheet is clean and dry. If you’re using a baking sheet, you might want to line it with parchment paper for easier cleanup, although it’s not strictly necessary for presentation.
Next, wash all your fruits thoroughly. For the strawberries, hull them and then cut them into bite-sized pieces. Aim for relatively uniform shapes so they lay nicely on the platter. If you’re using watermelon, cut it into similar-sized cubes or wedges. The goal is for them to be easy to pick up and eat. Gently pat the blueberries dry with a paper towel. Excess moisture can make the other elements slide around.
Take your white chocolate or yogurt-covered pretzels and place them in a bowl. You’ll be using these to create your white stripes and the starry field, so having them easily accessible is key. If you’re planning on offering dips, set up your small bowl(s) with your chosen dip(s) now.
Assembling the Edible Flag
Now for the fun part – bringin extractg our edible flag to life! This is where your creativity can really shine.
1. Laying the Foundation: The Red Stripes
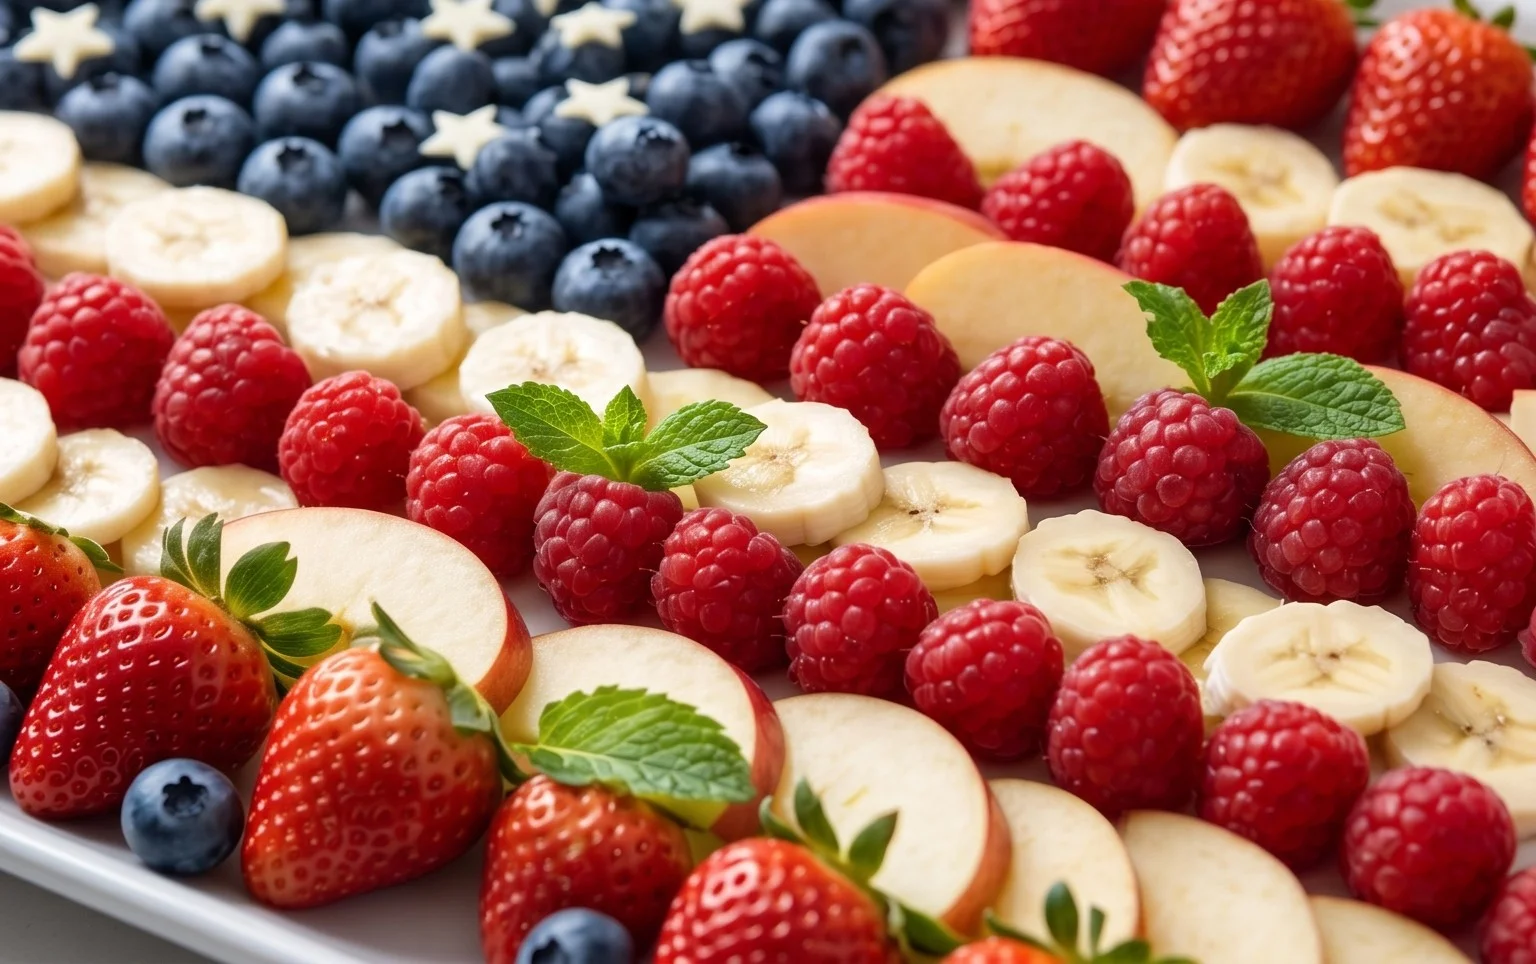
Begin extract by creating your red stripes. Arrange the cut strawberries (or watermelon pieces) in horizontal rows across the platter. You’ll want to leave space between these rows for the white stripes. Think about how many red stripes are on the actual flag – there are seven red stripes. Try to mimic this count as best as you can on your platter. Don’t worry about perfect straight lines; a slightly rustic, homemade look is part of the charm! Overlap them slightly if needed to ensure full coverage within each stripe.
2. Adding the White Stripes
Now, we’ll fill in the gaps between the red stripes with white. For this, we’ll use the white chocolate covered pretzels. Gently place them in the spaces you left between the red fruit rows. You can lay them in single file or create a slightly more abundant stripe of pretzels. The goal is to create distinct white lines that alternate with the red. Ensure they are nestled close enough together to form a clear stripe. This step adds a lovely textural contrast and a sweet element to the design.
3. Creating the Blue Union (The Starry Field)
On one side of your platter, typically the upper left corner, create the blue “union” for your stars. This is where the blueberries come in. Arrange a generous amount of blueberries in a rectangular section. This area should align with the top few red and white stripes, mimicking the canton of the flag. Try to make this section as neat and defined as possible. The deep blue of the blueberries will be a beautiful anchor for your “stars.”
4. Adding the Stars to the Union
Now it’s time to add the “stars” to our blue field. You have a couple of options here. You can strategically place a few white chocolate covered pretzels within the blueberry field to represent stars, or if you have particularly small white chocolate covered pretzels, you could even try to arrange them in a star pattern within the blueberry section. Alternatively, you can use a small star-shaped cookie cutter to cut out shapes from a slice of white cheese (like mozzarella or provolone) or even from thinly sliced white melon, if you have any on hand, and place these on top of the blueberries. The key is to add small white elements to the blue to symbolize the stars.
5. Finishing Touches and Presentation
Take a step back and admire your creation! Adjust any fruits or pretzels that seem out of place. Ensure the stripes are clearly defined and the blue union is well-established. If you’re serving with dips, place your small bowl(s) of dip(s) conveniently near the platter. This platter is best served immediately for optimal freshness and visual appeal. It’s a guaranteed crowd-pleaser and a delightful way to show your patriotic spirit! Enjoy this festive and flavorful creation!
Conclusion:
And there you have it – a stunning and delicious 4th of July Fruit Platter Idea that’s sure to be the star of your celebration! This American Flag fruit platter is incredibly simple to assemble, making it a fantastic way to impress your guests without spending hours in the kitchen. Its vibrant colors and fresh, healthy ingredients are a welcome contrast to heavier holiday fare. It’s not just beautiful; it’s a guilt-free treat that everyone, from kids to adults, will love. Perfect for picnics, barbecues, or even a festive dessert, this platter is a guaranteed crowd-pleaser.
Feel free to get creative with your fruit choices and arrangement! For serving suggestions, consider pairing it with a light yogurt dip or a drizzle of honey. If you’re looking for variations, think about adding blueberries for extra stars or using different red fruits like raspberries and strawberries. Don’t be afraid to experiment and make this recipe your own. I highly encourage you to give this American Flag fruit platter a try for your next patriotic gathering – you won’t be disappointed!
Frequently Asked Questions:
Can I make this fruit platter ahead of time?
Yes, you absolutely can! To ensure optimal freshness, I recommend cutting the fruit a few hours in advance and storing each color separately in airtight containers in the refrigerator. Assemble the platter just before serving to prevent any soggin extractess.
What other fruits can I use for the red and blue sections?
For red, beyond strawberries and raspberries, consider watermelon cubes or pitted cherries. For blue, besides blueberries, you could use small grapes or even sliced plums if they have a dark, bluish-purple hue.
4th of July Fruit Platter Idea | How to Make an American Flag
A festive and easy-to-make American flag fruit platter perfect for your 4th of July celebrations.
Ingredients
-
Strawberries cut into pieces
-
Blueberries
-
White Chocolate Covered Pretzels
-
Whipped cream (for stripes)
-
Banana slices (for stripes)
-
Raspberries (optional, for red stripes)
Instructions
-
Step 1
Prepare your serving platter or a large cutting board. This will be the canvas for your flag. -
Step 2
Arrange the strawberries (or watermelon pieces) in rows on one end of the platter to represent the red stripes of the American flag. Leave space for the blue ‘star field’. -
Step 3
In the top-left corner, create a rectangular ‘star field’ using blueberries. -
Step 4
Fill the remaining striped areas with alternating rows of whipped cream and banana slices to create white stripes. If using raspberries, they can also be used for red stripes. -
Step 5
Artfully place the white chocolate covered pretzels (or yogurt covered pretzels) within the blueberry ‘star field’ to represent stars. You can also use small dollops of whipped cream as stars. -
Step 6
Adjust the fruit and pretzel placement as needed to create a clear American flag design. Chill until ready to serve.
Important Information
Nutrition Facts (Per Serving)
It is important to consider this information as approximate and not to use it as definitive health advice.
Allergy Information
Please check ingredients for potential allergens and consult a health professional if in doubt.