Easy No-Bake Banoffee Cheesecake Recipe
No-Bake Banoffee Cheesecake is a dessert that has captured hearts (and taste buds!) for good reason. Imagin extracte a symphony of sweet, sticky toffee, fresh, creamy bananas, and a lusciously smooth cheesecake filling, all nestled on a crunchy biscuit base. It’s pure indulgence, and the fact that you don’t even need to turn on the oven makes it even more appealing. This iconic treat combines the best of a classic cheesecake with the irresistible flavors of banoffee pie, creating a dessert that’s both comforting and incredibly sophisticated. It’s the perfect centerpiece for any celebration, or simply a delightful way to treat yourself. The magic of a No-Bake Banoffee Cheesecake lies in its effortless assembly and the decadent, harmonious blend of its components. Get ready to wow yourself and your guests with this spectacular creation!
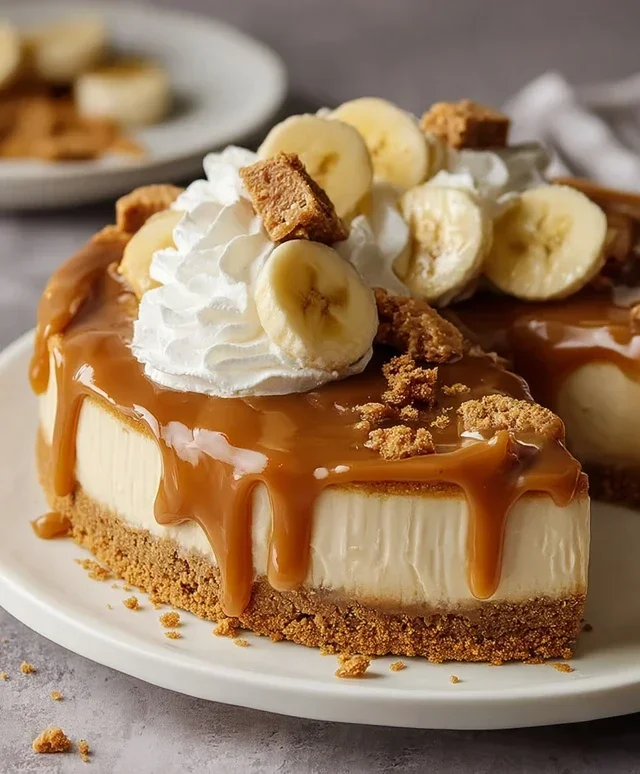
No-Bake Banoffee Cheesecake
Get ready to indulge in a slice of pure bliss with this incredibly easy and utterly decadent No-Bake Banoffee Cheesecake! This recipe skips the oven altogether, making it perfect for those warmer days or when you just don’t feel like turning on the stove. The combination of a crunchy biscuit base, a creamy, dreamy filling, sweet caramel, and fresh bananas is simply irresistible. It’s a crowd-pleaser that looks impressive but is surprisingly simple to whip up. Whether you’re a seasoned baker or a complete begin extractner, you’ll be able to create this showstopper with confidence.
Ingredients:
Creating the Biscuit Base
Let’s start with the foundation of our delicious cheesecake: the base. This is where we get that satisfying crunch that perfectly complements the creamy filling.
1. First, grab your plain biscuits. If you’re catering to gluten-free guests or have dietary needs, now is the time to use your gluten-free variety. Place these biscuits into a food processor. Blitz them until they are finely crum extractbed. You want a texture similar to coarse sand, not a fine powder. If you don’t have a food processor, don’t worry! You can place the biscuits in a sturdy plastic bag and bash them with a rolling pin until you achieve the desired crum extractb consistency. This can be a bit of a stress reliever too!
2. Next, melt your dairy-free butter or margarine. You can do this gently in a saucepan over low heat or in the microwave in short bursts, stirring in between. Once melted, pour this over the biscuit crum extractbs. Give it a good stir with a spoon or spatula until all the crum extractbs are evenly coated in the melted butter. This is what will help the base hold its shape.
3. Now, it’s time to form the base. Take your chosen cheesecake tin (a springform tin is ideal as it makes removal so much easier) and tip the buttered biscuit crum extractbs into it. Press the crum extractbs down firmly and evenly across the base of the tin using the back of a spoon or the bottom of a glass. Make sure you get right into the edges. For an even firmer base, you can press it up slightly around the sides of the tin to create a slight lip. Pop this base into the refrigerator to chill while we prepare the filling. This chilling process is crucial for setting the base, ensuring it doesn’t crum extractble when you slice the cheesecake.
Whipping Up the Creamy Filling
This is where the magic happens! We’re going to create a lusciously smooth and rich filling that’s both dairy-free and incredibly satisfying.
4. For the creamy filling, drain your pre-soaked cashew nuts thoroughly. Make sure there’s no residual water. Place the drained cashew nuts into a high-powered blender or food processor. Add the dairy-free cream cheese, coconut cream, and icing sugar. Blend until the mixture is completely smooth and creamy. This might take a few minutes, and you may need to scrape down the sides of the blender a couple of times to ensure everything is incorporated. The goal here is a silky-smooth consistency with no gritty cashew texture whatsoever. If your blender isn’t super powerful, you might need to add a tiny splash more coconut cream to help it along, but be careful not to make it too runny.
5. Once your cashew filling is perfectly smooth, gently peel and slice your medium-sized banana. Mash this banana in a small bowl with a fork until it’s a relatively smooth puree. Fold this mashed banana gently into the cashew cream mixture. You want to incorporate it evenly without overmixing, so you still get little hints of banana flavour throughout. Now, carefully spoon this delightful filling over the chilled biscuit base in your cheesecake tin. Use a spatula to spread it out evenly, creating a smooth top.
Assembling and Finishing Touches
The final steps are all about bringin extractg it all together and adding those signature banoffee flavours that will make your taste buds sing.
6. Now, it’s time to drizzle generously with vegan caramel sauce. Don’t be shy! Swirl it over the top of the cheesecake filling. You can use a skewer or a knife to create a pretty marbled effect if you like. Next, we’re going to whip our dairy-free whipping cream. Pour the 80ml of dairy-free whipping cream into a chilled bowl. Use an electric whisk or a balloon whisk to whip the cream until it forms soft peaks. Be careful not to over-whip, or it will become too stiff.
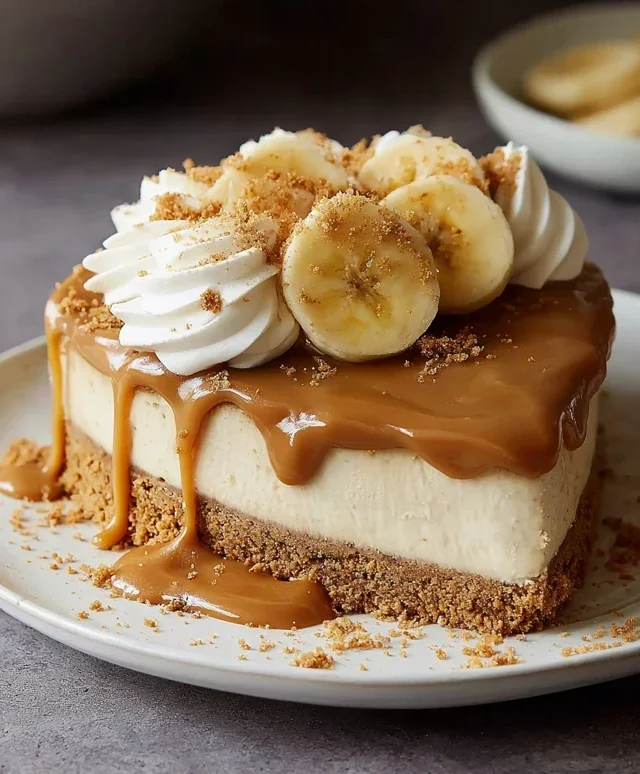
7. Finally, it’s time to decorate! Dollop the whipped dairy-free cream onto the top of the cheesecake. Arrange your fresh banana slices artfully on top of the whipped cream and caramel swirls. For an extra touch of indulgence, you can drizzle a little more vegan caramel sauce over the finished cheesecake. Pop the assembled cheesecake into the refrigerator for at least 4 hours, or preferably overnight, to allow it to set completely. This chilling time is essential for the cheesecake to firm up and for all those delicious flavours to meld together. Once set, carefully remove the sides of the springform tin and serve your magnificent No-Bake Banoffee Cheesecake. Enjoy every single bite!
Conclusion:
And there you have it – your very own, absolutely divine No-Bake Banoffee Cheesecake! I truly hope you’ve enjoyed learning how to whip up this incredibly easy yet impressively decadent dessert. The beauty of this recipe lies in its simplicity; no oven required means less fuss and more enjoyment for you. The layers of crunchy biscuit base, luscious caramel, creamy banana-infused cheesecake filling, and whipped cream topping create a symphony of textures and flavors that are simply irresistible. This No-Bake Banoffee Cheesecake is perfect for any occasion, from a casual family gathering to a more formal dinner party – it’s guaranteed to impress!
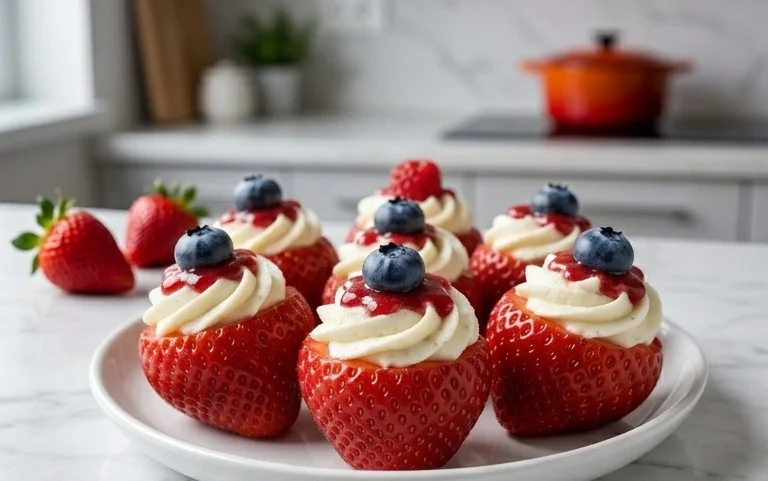
For serving, I love to garnish each slice generously with extra whipped cream, a drizzle of caramel sauce, and perhaps a few chocolate shavings or a sprinkle of toffee pieces for an extra touch of indulgence. You could also serve it with fresh berries for a pop of contrasting color and freshness. Feel free to experiment with variations too! Swap the digestive biscuits for chocolate digestives for a richer base, or add a touch of rum extract or bourbon extract to the caramel for an adult twist. Don’t forget to sprinkle on some toffee crisps before serving for added crunch!
I wholeheartedly encourage you to give this No-Bake Banoffee Cheesecake a try. It’s a fantastic way to satisfy those sweet cravings without breaking a sweat. Happy baking (or rather, no-baking)!
Frequently Asked Questions:
Can I make this cheesecake ahead of time?
Absolutely! This No-Bake Banoffee Cheesecake is actually best made a few hours, or even a day, in advance. This allows the flavors to meld beautifully and the cheesecake to set properly in the refrigerator, resulting in a perfectly firm yet creamy texture.
What can I substitute for the cream cheese if I have an allergy or preference?
While cream cheese is key to the classic cheesecake texture, you could experiment with a dairy-free cream cheese alternative for a vegan version. Ensure it’s a firm, spreadable variety. Some also have success with mascarpone cheese, though this will alter the flavor profile slightly and might require a bit more chilling time to set.
How do I store leftovers?
Leftovers can be stored in an airtight container in the refrigerator for up to 3-4 days. The biscuit base may soften slightly over time, but the flavor will remain delicious. Just be sure to cover it well to prevent it from absorbing any fridge odors.
No-Bake Banoffee Cheesecake
A delicious and easy no-bake banoffee cheesecake, perfect for a quick dessert. Features a biscuit base, creamy cashew filling, banana, and decadent caramel.
Ingredients
-
200g plain biscuits (use gluten-free biscuits if required)
-
100g dairy-free butter or margarine
-
140g cashew nuts (pre-soaked in warm water overnight)
-
340g dairy-free cream cheese
-
50g coconut cream
-
80g icing sugar
-
1 medium-sized banana
-
Vegan caramel sauce (store-bought or homemade)
-
Fresh banana slices
-
80ml dairy-free whipping cream
-
Vegan caramel sauce
Instructions
-
Step 1
Crush the biscuits into fine crumbs. Melt the dairy-free butter or margarine and mix with the biscuit crumbs. Press this mixture firmly into the base of a springform tin to form the crust. -
Step 2
Drain the soaked cashew nuts. In a blender or food processor, combine the drained cashews, dairy-free cream cheese, coconut cream, and icing sugar. Blend until completely smooth and creamy. -
Step 3
Spread half of the banana into thin slices and arrange them over the biscuit base. Pour the cashew cream mixture over the banana slices and smooth the top. -
Step 4
Drizzle a generous amount of vegan caramel sauce over the cream cheese filling. You can create swirls for a decorative effect. -
Step 5
Whip the dairy-free whipping cream until soft peaks form. Spoon dollops of whipped cream around the edge of the cheesecake or dollop on top. Garnish with fresh banana slices and a final drizzle of vegan caramel sauce. -
Step 6
Chill the cheesecake in the refrigerator for at least 4 hours, or preferably overnight, to allow it to set properly before serving.
Important Information
Nutrition Facts (Per Serving)
It is important to consider this information as approximate and not to use it as definitive health advice.
Allergy Information
Please check ingredients for potential allergens and consult a health professional if in doubt.